



Main Water Line Repair in San Diego, CA: Costs, Warning Signs, Permits, and Best Fix Options
Executive Summary
Main water line repair San Diego starts by confirming the leak is on the underground service line using a meter-and-shutoff isolation test, then verifying pressure loss and pinpointing the failure with non-destructive locating before any excavation. The definitive long-term fix is selected based on pipe condition and access constraints—spot repair for isolated defects in sound pipe, or replacement (often trenchless) when the line is deteriorated or likely to fail again.
Core Insights
- Confirm Location First: A meter movement test with the house main shutoff closed quickly distinguishes a buried service-line leak from an interior plumbing or irrigation-side leak.
- Locate Before You Dig: Pressure testing plus acoustic tools or tracer gas narrows excavation to a small, evidence-based dig window and reduces property damage and right-of-way complications.
- Choose Scope by Pipe Condition: Spot repair fits a localized failure on structurally sound pipe, while replacement is the durable choice for galvanized corrosion, repeated leaks, brittle sections, or routes where repeated trenching is impractical.
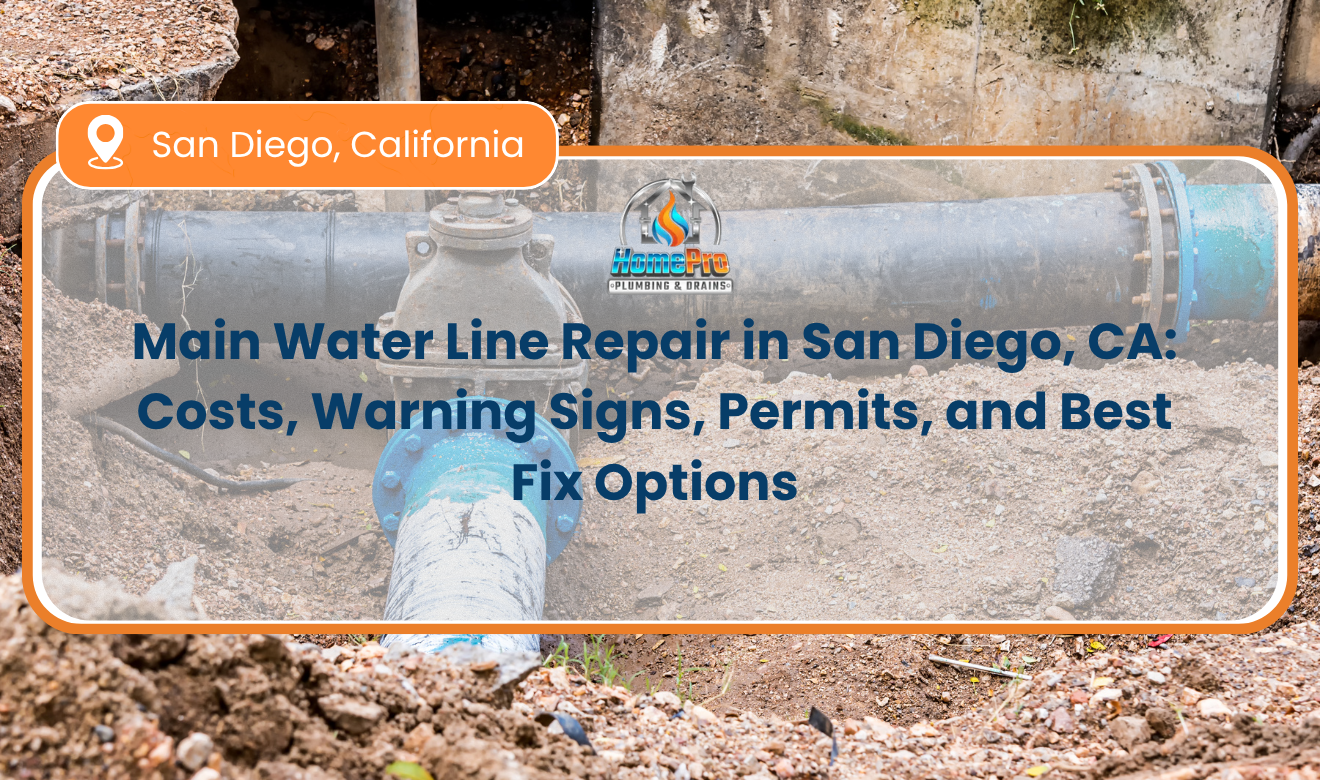
Main water line repair San Diego is the process of locating and fixing leaks, breaks, pressure failures, or corrosion in the underground pipe that delivers water from the meter to a home or building. In San Diego neighborhoods with older housing stock, the line is often galvanized steel or aging copper, and failures commonly show up as a sudden spike on the water bill, a spinning meter dial when all fixtures are off, weak pressure at multiple faucets, or a persistently wet strip of soil between the curb meter box and the foundation. In areas with expansive or shifting soils, a small split can also present as recurring puddles near the driveway, soft spots in landscaping, or fine sediment in aerators after a pressure drop. A proper assessment usually includes a shutoff test at the house valve versus the meter, a pressure test to confirm loss, and pinpointing with acoustic listening or tracer methods to avoid unnecessary trenching. San Diego work often intersects with local permit rules when repairs occur in the public right-of-way, cross sidewalks, or require meter-area excavation, and expectations can include a pressure test, inspection access, and code-compliant bedding and depth. The best fix depends on pipe material, leak location, and site constraints, ranging from targeted spot repair with new fittings to full replacement using trenchless pipe bursting or directional boring when trees, hardscape, or narrow side yards limit excavation.
How to Confirm the Leak Is on the Main Service Line (Not Inside the House)
Summary: A simple meter-and-shutoff test can determine whether water is escaping on the underground service line or somewhere inside the home. This step prevents unnecessary excavation and narrows the repair scope immediately.
Before any digging, isolate the system using the two most relevant shutoffs: the house main shutoff valve (often at the hose bib/front wall or in the garage) and the city meter valve at the curb meter box. The goal is to determine whether flow continues when the home is isolated.
- Step 1: Shut off all water-using fixtures (including irrigation timers, recirculation pumps, ice makers, and softeners).
- Step 2: Watch the water meter register:
- If the meter movement continues with everything “off,” there is an active leak either on the service line or in the building.
- If the meter does not move, the leak is intermittent or not present at the time of testing.
- Step 3: Close the house main shutoff and re-check the meter:
- Meter still moves: leak is between the meter and the house shutoff (typically the buried service line).
- Meter stops: leak is on the building side (interior plumbing, slab line, or irrigation branch after the shutoff).
If symptoms include pressure loss at multiple fixtures and the meter test indicates the leak is upstream of the house valve, the next step is accurate location—because “dig and hope” is the costliest approach.
Pinpointing Underground Leaks Without Unnecessary Trenching
Summary: Professional leak location uses pressure verification and acoustic or tracer-based tools to narrow the dig area. Accurate locating reduces property damage and aligns with inspection expectations when work enters the public right-of-way.
For buried water piping, a competent diagnostic sequence is predictable and evidence-based:
- Pressure testing to confirm measurable pressure loss and distinguish between a true leak and a demand/valve issue.
- Acoustic listening to trace leak noise along the pipe route (more effective on metallic pipe than on some plastics).
- Correlators or ground microphones to narrow the loudest point in soil or pavement.
- Tracer gas methods (commonly inert gas blends) when acoustics are unreliable due to depth, soil conditions, traffic noise, or non-metallic pipe.
In San Diego, accurate locating is not just about convenience—it reduces the chance of sidewalk/pavement removal and limits disturbance in easement areas. If you suspect hidden leakage but want a deeper overview of modern techniques, see how plumbers detect hidden leaks.
What Typically Causes Service Line Failures in San Diego Properties
Summary: Most main line failures stem from aging materials, soil movement, and long-term corrosion rather than a single sudden event. Knowing the failure mode helps determine whether a spot repair is reasonable or a full replacement is the correct long-term fix.
Common, verifiable drivers of underground service line problems include:
- Galvanized steel degradation: internal corrosion reduces diameter, causes pressure drop, and can create pinhole leaks at weak sections.
- Copper pitting or joint failure: can appear as localized leaks, particularly at stressed fittings or where soil chemistry accelerates corrosion.
- Soil shifting and settlement: can shear rigid connections and open cracks at fittings or transitions.
- Improper bedding/backfill: rocks and debris create point loads; over time, vibration and soil movement can damage the pipe wall.
- High static pressure: increases stress on all weak points; if pressure is excessive, addressing regulation is part of a durable repair plan.
When pressure is inconsistent, it can be a separate system issue rather than a leak alone. For a focused explanation of pressure-loss causes, reference what causes sudden loss of water pressure in a house.
Repair vs. Replacement: Making the Correct Call Based on Material, Location, and Access
Summary: Spot repairs work when the pipe is structurally sound and the leak is isolated; replacement is the correct approach when the line is near end-of-life or failures are likely to recur. The decision should be anchored to pipe condition, not just the cheapest immediate option.
Use these objective criteria to decide between a targeted repair and a full line replacement:
- Choose a spot repair when:
- The line is copper or approved plastic in good condition and the leak is localized.
- The leak is caused by a single identifiable defect (puncture, failed coupling, cracked fitting).
- The excavation area is accessible and does not require extensive hardscape removal.
- Choose replacement when:
- The service is galvanized steel with widespread corrosion or chronic pressure restriction.
- There have been repeated leaks or multiple repairs in different locations.
- The route is under concrete, mature landscaping, or confined side yards where repeated trenching is impractical.
- A prior repair reveals brittle pipe, thinning walls, or poor prior workmanship.
For broader context on how plumbing systems are structured and why certain materials fail over time, see Plumbing.
Trenchless Options in Tight San Diego Lots: Pipe Bursting and Directional Boring
Summary: Trenchless replacement can reduce surface disruption when trees, driveways, patios, or narrow setbacks make open trenching costly. These methods still require proper entry/exit pits and verification of existing utility conflicts.
Two trenchless approaches commonly used for service line replacement are:
- Pipe bursting: a bursting head fractures the old pipe while pulling in a new line behind it. This is best when the existing pipe can serve as a continuous path and when up-sizing is desired.
- Directional boring (horizontal directional drilling): drills a new path for the replacement line, useful when the old line is collapsed, misrouted, or not suitable to burst.
Regardless of method, the replacement must still meet local code expectations for material, depth, and protection, and it must be installed with appropriate bedding and tracer/warning requirements where applicable.
Permits, Right-of-Way, and Inspection Realities in San Diego
Summary: Work that impacts the public right-of-way, meter area, sidewalks, or street improvements typically triggers permit and restoration requirements. Planning for these steps prevents delays, rework, and failed inspections.
San Diego main service work can fall into two broad zones of responsibility: private property (generally homeowner responsibility) and the public right-of-way (often regulated and permit-controlled). While specific approval paths vary by jurisdiction and exact work location, the consistent requirements for regulated areas commonly include:
- Encroachment/right-of-way authorization when excavation or restoration occurs in sidewalks, parkways, or street areas.
- Utility locating coordination prior to excavation to reduce strike risk and meet standard excavation safety practices.
- Inspection access before backfill so depth, bedding, and connection workmanship can be verified.
- Surface restoration standards for any disturbed sidewalk/asphalt/landscaping in regulated zones.
On private property, permits may still be required depending on scope, especially when replacing substantial portions of a water service, altering pipe routing, or changing materials. A contractor familiar with local process should identify whether the repair crosses into the meter-side area that triggers additional approvals.
Core Specifications That Affect Durability (Depth, Bedding, Pressure, and Materials)
Summary: Long-term performance depends on measurable installation factors: correct burial depth, stable bedding, pressure verification, and code-appropriate materials. These are the failure points inspectors and experienced plumbers focus on first.
Even a perfectly located leak repair can fail early if the backfill is rocky, the pipe is stressed at transitions, or the system is run at excessive pressure. Practical, inspection-friendly quality checks include:
- Pipe bedding: install on stable, compactable material and remove sharp rock/debris that can create point loads.
- Jointing method: use fittings and joining practices matched to the pipe type (for example, rated compression/press/solder depending on material and application).
- Pressure testing: verify the repair or new service line holds pressure before final backfill and restoration.
- Transition management: protect dissimilar material transitions and avoid introducing stress points at the meter connection or house entry.
If static pressure is high or fluctuates, regulating pressure is not optional for longevity—it is a corrective measure that reduces future failures at weak points and fixtures. If that applies, integrate an appropriate regulation strategy using Water Pressure Regulators San Diego.
Service Line Repair/Replacement Decision Matrix (San Diego-Oriented)
Summary: The table below consolidates the key decision points that determine method selection, compliance risk, and life-cycle reliability. Use it to align symptom patterns with the correct repair scope.
| Feature / Metric | Specifications | Local Guidelines |
|---|---|---|
| Leak confirmation method | Meter movement test + house shutoff isolation; pressure test for verification | Document findings before excavation; helps justify limited trenching and scope to inspectors/property managers |
| Common failing materials in older neighborhoods | Galvanized steel (corrosion, restriction); aging copper (pitting, joint fatigue) | Repeated failures or restricted flow typically support replacement planning rather than repeated spot patches |
| Best-fit repair type | Spot repair for isolated defect; replacement for systemic deterioration or multiple prior leaks | Work that crosses sidewalk/parkway/meter-side areas may trigger right-of-way permit and restoration requirements |
| Trenchless feasibility | Pipe bursting uses existing line as pathway; directional boring creates a new path | Must account for underground utilities and ensure required inspection visibility at connections before backfill |
| Quality control checkpoints | Correct bedding/backfill; rated fittings; verified pressure hold; protected transitions | Expect inspection requirements where permitted work applies; do not cover work until required sign-off is obtained |
What the Repair Process Looks Like From Start to Finish
Summary: A correct repair follows a controlled sequence: isolate, verify, locate, expose carefully, repair/replace to spec, test, then restore. Skipping steps increases the risk of repeat leaks, settlement issues, and inspection failures.
A field-proven workflow typically follows these phases:
- System isolation and verification
- House shutoff vs meter test
- Pressure verification to confirm active loss
- Pinpoint locating
- Acoustics/correlation or tracer-based confirmation
- Marking the most probable dig window
- Controlled excavation
- Hand-expose around marked location as needed to reduce damage risk
- Confirm pipe type, diameter, and failure mode before selecting fittings
- Repair or replacement
- Install code-appropriate materials and fittings
- Address contributing factors (e.g., unstable transitions, inadequate bedding)
- Pressure test and commissioning
- Hold pressure to verify leak-free work
- Flush the line if sediment entered during failure/excavation
- Backfill and restoration
- Proper lift/compaction where required to reduce settlement
- Restore landscaping or hardscape consistent with local restoration expectations
Protecting the Home After a Main Line Failure (Sediment, Fixtures, and Secondary Damage)
Summary: After a service line break, debris and pressure surges can damage fixtures and clog aerators, valves, and appliances. Post-repair flushing and fixture checks prevent nuisance callbacks and secondary losses.
Once the line is repaired and water is restored, protect the home’s plumbing components with a disciplined restart:
- Flush at an exterior hose bib first (if available) to move sediment out before it reaches fixture aerators.
- Clean faucet aerators and shower heads if you see grit or reduced flow.
- Check toilet fill valves for debris-induced running or slow fill.
- Verify irrigation filters/emitters if the irrigation tees off after the house shutoff.
If the leak caused saturation near the foundation, water can migrate into crawl spaces or wall cavities. In that case, fast drying and moisture verification are critical to limit deterioration and microbial growth.
Clear Takeaways for Durable Service Line Repair in San Diego
Summary: The most reliable outcomes come from confirming leak location with meter isolation, using non-destructive locating, and selecting repair vs replacement based on pipe condition—not guesswork. Planning for right-of-way rules and passing pressure tests protects both compliance and long-term performance.
Main service line problems are high-impact because they affect the entire building and can generate significant water loss quickly. A disciplined approach—meter testing, pressure verification, accurate locating, and code-aligned installation practices—reduces excavation, shortens downtime, and prevents repeat failures. When elevated pressure contributes to breaks or chronic leaks, regulating pressure is part of the repair strategy, not an optional upgrade. Finally, if work touches sidewalks, parkways, or meter-area zones, treat permitting and restoration as part of the job scope from day one to avoid delays and rework.
Frequently Asked Questions
Stop the Leak Before It Becomes a Full-Property Problem
A main water line leak isn’t a “wait and see” issue—it’s a behind-the-scenes failure that can quietly rack up a massive bill, undermine soil around hardscape and foundations, and turn a small break into a full service outage. And if the leak is in the meter-side or right-of-way zone, DIY digging can create a much bigger mess fast: damaged utilities, failed inspections, restoration requirements you didn’t budget for, and delays that keep the water off longer than it needs to be.
The smart move is to get certainty first—confirm whether the leak is on the buried service line or inside the house, verify pressure loss, and pinpoint the failure so the repair is targeted instead of destructive. Without proper locating and a code-aware plan, homeowners often end up paying twice: once for unnecessary trenching and again for the real repair when the first “fix” doesn’t hold or exposes brittle, end-of-life pipe.
If your meter is spinning with everything off, pressure is dropping across multiple fixtures, or you’re seeing persistent wet spots between the meter and the house, bring in a local pro who can isolate the system correctly, locate the leak without tearing up your property, and recommend the right solution—spot repair, replacement, or trenchless—based on the actual condition of the line.
Related Posts

Plumbing Code Compliance Services in San Diego, CA: Requirements, Permits, and Inspection Checklist
Key Takeaways In San Diego, “code-compliant plumbing” generally means meeting the California Plumbing Code as…

How to Choose a Licensed Plumbing Contractor in San Diego, CA
Key Takeaways Choosing a Licensed Plumbing Contractor San Diego homeowners can rely on comes down…